Watch the webinar: Turning Pixels into Prints: A Practical Guide with Lumaprints
Digital artwork can look vibrant on a screen and still feel different once it is printed. Screens are backlit, while paper, canvas, and metal reflect light, so brightness, color, texture, and fine detail can change when the artwork becomes a physical piece.
If you are learning how to print digital art, start with the file itself. Good digital art printing depends on real image detail, the intended print size, careful export settings, and a print medium that suits the artwork. In this webinar, we walked through those decisions and some common problems to check before sending your work to print.
Why Pre-Press Matters for Digital Artists
One of the most common surprises for digital artists is that what looks vibrant on a screen doesn’t always appear the same once printed. Computer monitors produce their own light, while physical prints rely on the light around them.
That’s why pre-press preparation matters. A properly prepared file gives you a much better chance of preserving the look and character of your original artwork.
Quick Tips:
- Keep your monitor at a realistic brightness while editing.
- Calibrate your monitor when color accuracy is important.
- Always work with the highest-quality original image available.
- Keep a master copy before creating separate versions for print or online use.
Resolution, Dimensions & the Ruler Test
High DPI and large dimensions don’t always guarantee a quality print. For example, an image that has been upscaled from a small, low-resolution source may meet the required specifications but still look blurry, noisy, or jagged when enlarged.
The Ruler Test: Align a physical ruler with your on-screen ruler at the intended print scale. This gives you a practical way to check how small details, lines, and text may appear at the final size.
Best Practices:
- Work around 200–300 DPI when the original image can support it.
- Check the actual pixel dimensions instead of changing the DPI number alone.
- Keep a high-quality version of your file for printing.
- Create a separate compressed version for online use.
Exporting for Print
Exporting correctly is just as important as designing. Before uploading your artwork, check the final dimensions, compression, color profile, brightness, and detail.
Use the color profile recommended for your current printing workflow, choose high-quality export settings, and avoid unnecessary compression. Reopen the finished file before ordering so you can catch an accidental resize, crop, or export issue.
Choosing the Right Medium
Your choice of medium can change the look and feel of your digital artwork. Instead of choosing a surface simply because it is familiar, think about what you want to preserve in the image.
- Canvas Prints: The woven texture can add warmth and a painterly quality to illustrations, portraits, and landscapes.
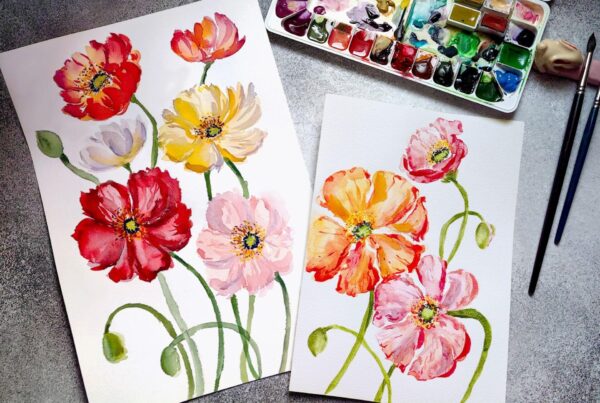
- Fine Art Paper: A good option when fine detail, paper texture, and a more traditional print presentation matter.
- Metal Prints: A smooth, contemporary surface that can work particularly well with strong color, contrast, and clean digital artwork.
- Foam Mounted Prints: A lightweight option for displays, exhibitions, and ready-to-hang artwork.
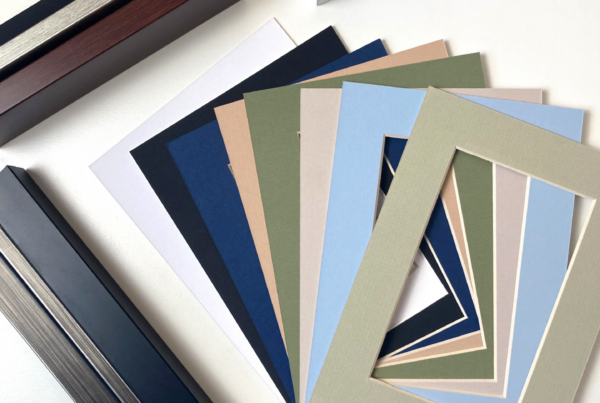
Framing can also change the character of the finished piece. A simple black frame may suit modern digital artwork, while wood or more decorative framing can create a very different feel.
Color Accuracy & Proofing
Colors can shift between screen and print because monitors produce light while prints reflect it. Instead of expecting a physical print to look exactly like a glowing screen, pay attention to the overall mood, contrast, brightness, and important color relationships.
For artwork you plan to sell repeatedly, consider ordering a small test print before moving to a larger size or quantity. A proof gives you the chance to catch an unexpected crop, dark shadow, or color issue before producing multiple copies.
Common Pitfalls to Avoid
Even experienced artists can run into problems when preparing their digital files for print. Being aware of them early can save time and unnecessary reprints.
- Printing from low-resolution images originally prepared for websites or social media.
- Ignoring aspect ratios, which can lead to unwanted cropping.
- Relying only on DPI without checking the quality of the original image.
- Editing on an overly bright monitor, which may make the finished print appear darker than expected.
- Placing important details too close to the edge, particularly when preparing artwork for canvas wrapping.
Why Print With Lumaprints?
Lumaprints offers several print formats for artists and digital creators, including canvas, fine art paper, metal, and foam-mounted prints. Different surfaces, sizes, and presentation choices allow you to select the format that makes sense for the artwork rather than treating every image the same way.
Before placing an important order, review the current product specifications and upload requirements so your file is prepared for the product you choose.
Q&A Highlights
What should I choose if I want something textured, weighted, and low gloss?
Somerset Velvet or Cold Press Fine Art Paper may be worth considering. The best choice depends on how much surface texture you want to become part of the finished artwork.
My upscaled images look jagged—what can I do?
Start with the highest-resolution original whenever possible. Anti-aliasing can help smooth some digital edges, but upscaling cannot fully recreate detail that was missing from the original file.
What if my file exceeds the upload limit?
At the time of the webinar, an alternate file-transfer process was discussed for files that exceeded the online upload limit. Because upload procedures can change, check the current Lumaprints ordering instructions before relying on an older workflow.
How do I know what size I can print my digital art?
Look at the pixel dimensions of your original file and compare them with your intended print size. Check the artwork near its final scale, especially if it contains small text, fine lines, faces, or other details that need to remain sharp.
Should I order a test print before selling my digital artwork?
Yes, especially if you plan to reproduce the same artwork for customers. A test print lets you check the color, brightness, crop, detail, and chosen material before committing to a larger quantity.
Turn Your Digital Artwork Into a Print You Can Trust
Learning how to print digital art becomes easier when resolution, color, size, and print material are treated as parts of the same process. Start with the best source file available, check it at the intended size, and choose a surface that supports the artwork rather than distracting from it.
If you plan to sell or reproduce the piece, a test print is worth the extra step. It gives you a physical reference before the artwork reaches your customers.
Watch the full webinar: Turning Pixels into Prints: A Practical Guide with Lumaprints
For more printing tutorials and previous webinar sessions, visit the Lumaprints YouTube channel.