
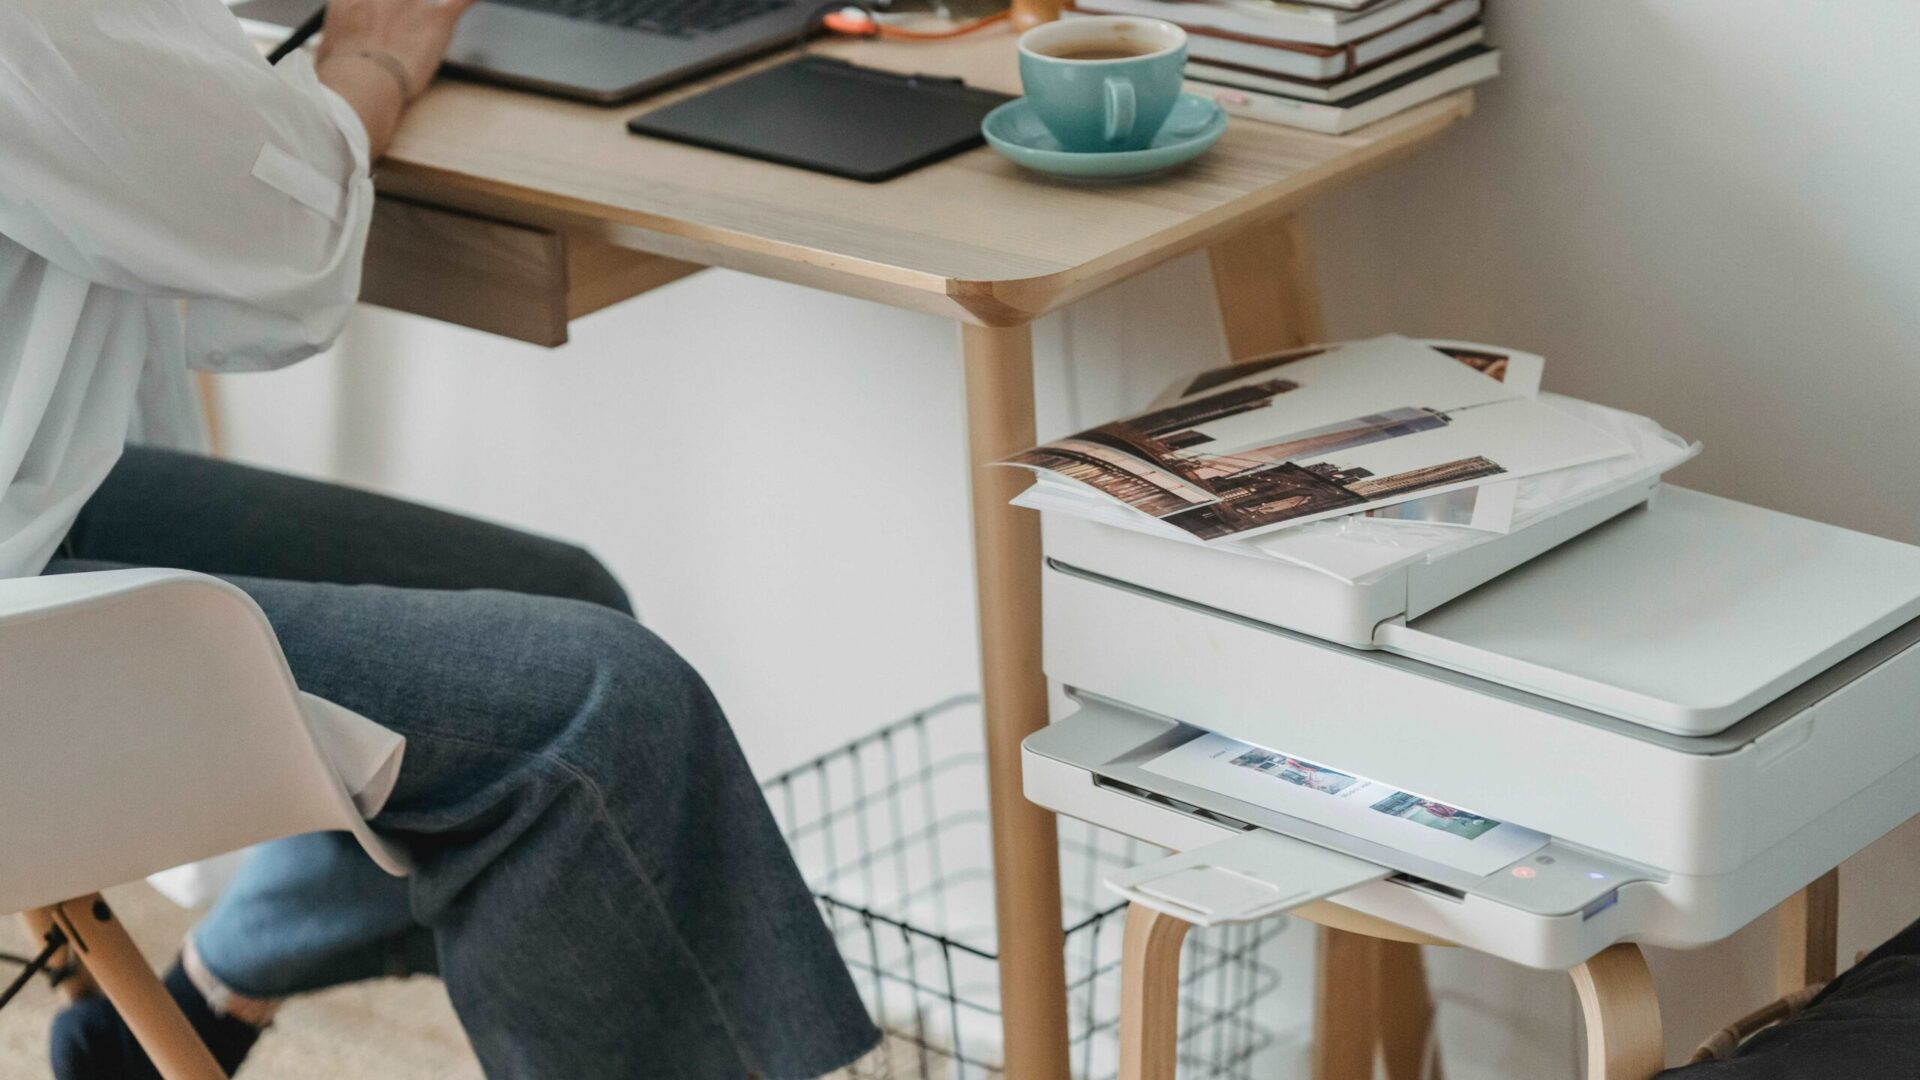
Digital art may begin on a screen, but printing it introduces a few decisions that do not matter when the work stays digital. Resolution, color, print size, paper or canvas texture, and the printer itself can all affect the finished piece.
If you are new to printing digital artwork, the process is easier when you break it into three parts: prepare a strong file, choose a print medium that suits the image, and decide where the work will be printed. You do not need to make every file enormous or apply heavy sharpening and contrast.
The aim is to keep the original artwork looking intentional when it moves from a backlit screen to a physical surface.
Whether you want to sell prints, prepare pieces for an exhibition, or simply see your work off-screen, the steps below will help you make more informed choices.
Is Printing Digital Art Possible?
Yes. Digital illustrations, paintings, photographs, collages, and other digital work can all be turned into physical prints. The important part is preparing the file for the size and surface you want.
A print will not look exactly like a monitor because screens create their own light while paper, canvas, and metal reflect the light around them. That does not mean the print is wrong. It means you need to judge color, brightness, detail, and texture with the final medium in mind.
For artists who sell their work, printing also gives customers another way to experience it. You can offer a physical edition without giving up the original digital file, and print-on-demand services make it possible to produce pieces as orders come in rather than keeping a large inventory.
STEP 1: Getting Digital Files Ready for Printing
1. Check the Resolution at the Final Print Size
One of the easiest mistakes to make is assuming that changing a file from 72 DPI to 300 DPI automatically improves it. It does not. The real detail comes from the pixel dimensions of the original image.
Lumaprints currently lists 200 DPI as the optimal target for canvas and 300 DPI for fine art paper. A lower-resolution file may still print, but quality depends on the image and final size. For example, an image that looks sharp at 8×10 inches may become noticeably softer when enlarged to 24×36.
Before resizing anything, check the pixel dimensions of your file and decide how large you actually want to print it. If the source image is small, consider a smaller print rather than relying on aggressive upscaling.
2. Keep the Original Proportions
When changing the size of your artwork, keep the aspect ratio in mind. If the file and print size use different proportions, some cropping may be needed.
Avoid stretching the image simply to make it fit. That can distort circles, faces, lettering, and other recognizable shapes. Instead, crop deliberately or choose a print size that is closer to the original proportions.
It also helps to keep important details away from the very edge, especially if you are preparing artwork for a stretched canvas where part of the image may wrap around the sides.
3. Review Color Before You Export
Color on a monitor can be misleading, particularly if the screen is very bright or has not been calibrated. Before you make large corrections, compare the artwork on a reliable display and review the file at a realistic brightness.
Lumaprints currently prints using the Adobe RGB color space and converts sRGB files to Adobe RGB during production. If you already work in a managed color workflow, make sure your file has an embedded profile so the color information travels with it.
For artwork where color is critical, soft proofing for quality prints can give you a better preview of how the image may respond to a particular printing process.
4. Be Careful With Upscaling, Contrast, and Sharpening
Upscaling software has improved, but it still cannot fully recreate detail that was never present in the source file. If you enlarge an image, inspect faces, text, edges, and areas with fine texture before ordering a large print.
The same applies to sharpening and contrast. More is not always better. Over-sharpening can create halos around edges, while too much contrast can remove detail from highlights and shadows.
Make your adjustments while looking at the artwork at or near its intended print size. If you are unsure, a small test print is often more useful than another round of aggressive editing.
5. Save a Print-Ready Copy
Keep your editable master file separate from the version you upload for printing. That way, you can return to the original later without working from a compressed copy.
Lumaprints currently recommends JPG and PNG for uploaded print files. PDF and AI files can also be accepted, but JPG and PNG are preferred for a more straightforward workflow.
If you use JPEG, export it at a high-quality setting after your edits are complete. PNG is useful when you want lossless compression, although the right format still depends on the artwork and printer requirements.
For a deeper look at color spaces, see Color Gamut and RGB Workspaces.
STEP 2: Choosing the Right Print Medium
The material you choose changes more than the feel of the finished piece. It can affect texture, contrast, glare, color response, framing, and even how the artwork fits into a room.
Fine Art Paper
Fine art paper is a natural choice for illustrations, photography, drawings, and work where paper texture or fine detail matters. Smooth matte papers keep the surface quiet, while textured papers can add a more traditional feel.
Glossy and semi-gloss finishes can give photographs and colorful artwork more visual punch, but they also reflect more light. Matte surfaces are often easier to view under glass or in rooms with strong lighting.
Rather than choosing paper by weight alone, think about how the surface works with the image. A delicate line drawing and a highly saturated photograph may benefit from very different papers.
Canvas
Canvas adds a visible woven texture and gives digital paintings, landscapes, portraits, and softer photographic work a more tactile appearance. Because the material is stretched around bars, you also need to think about the edge treatment and how much of the image will remain on the front.
Canvas can be displayed without a traditional frame or paired with a floating or decorative frame, depending on the presentation you want.
Metal and Other Display Options
Metal has a smoother, more contemporary appearance and can work well with high-contrast photography, bold color, architecture, and clean digital imagery. Foam-mounted fine art paper gives paper prints additional structure, while peel-and-stick prints offer a different approach for removable wall display.
Lumaprints currently lists canvas, framed canvas, fine art paper, framed fine art paper, foam-mounted fine art paper, metal, and peel-and-stick among its wall-art products.
The best surface is not necessarily the most expensive one. Choose the format that supports the artwork and the way you expect the customer to display it.
STEP 3: Where to Print Digital Art
If you are wondering where to print digital art, there are three common routes: print at home, work with a local professional printer, or use a print-on-demand provider.
Printing at home gives you hands-on control, but professional-quality equipment, ink, paper, maintenance, and color management can become expensive. It makes the most sense when you enjoy managing the printing process yourself and produce enough work to justify the equipment.
A local printer can be useful when you want to speak directly with the person producing the piece or review physical proofs nearby. Ask what file types, color profiles, papers, and resolution they prefer before preparing your final file.
For artists selling online, a print-on-demand service can remove much of the production and fulfillment work. You upload a print-ready file, choose the product, and the order can be produced when a customer buys it rather than in advance.
Lumaprints currently offers several wall-art formats, allowing artists to test how the same artwork feels on different surfaces without purchasing professional printing equipment themselves.
Order a Test Before You Commit to a Large Run
One of the most useful steps in printing digital artwork is also one of the simplest: order a sample.
A monitor can help you prepare the file, but it cannot show you exactly how a paper texture feels, how a canvas weave affects fine detail, or how a metal surface responds to room light. A test print gives you something physical to compare with the original file.
Look at the sample in normal lighting. Check the crop, shadows, highlights, fine lines, and any text or signatures. If you plan to sell the piece repeatedly, keep the approved file and note the product, size, and settings you used so future orders stay consistent.
If you are still learning about print color, Printers – Improving Color Accuracy is another useful reference.
Start With the Artwork, Then Choose the Print
Getting a good print is not about following one perfect setting for every image. A detailed illustration, soft landscape, black-and-white photograph, and bold digital painting may each need a different combination of size, surface, and file preparation.
Start with the strongest version of your artwork. Check its real resolution, keep the proportions intact, make careful color adjustments, and choose a medium that fits the image rather than forcing the image to fit a product.
If you are planning to sell prints, test one piece before building a full collection. That first sample can tell you far more than repeatedly viewing the file on a screen, and it gives you a reliable reference for future customer orders.
Frequently Asked Questions
What resolution should I use for printing digital artwork?
The right resolution depends on the print medium and final size. Lumaprints currently recommends about 200 DPI for canvas and 300 DPI for fine art paper.
Where can I print digital art professionally?
You can work with a local professional printer or use a print-on-demand provider. A local printer offers more direct contact, while print on demand can be easier when you sell online.
Is JPG or PNG better for digital art printing?
Both can work. Lumaprints currently recommends JPG and PNG for print uploads.
Should I print digital art on paper or canvas?
It depends on the artwork. Fine art paper works well when sharp detail and paper finish matter, while canvas adds visible texture and can suit digital paintings, portraits, and landscapes.
Should I order a test print before selling my artwork?
Yes, especially if you plan to reproduce the same piece. A test lets you check color, crop, detail, and the chosen surface before committing to larger or repeated orders.


I have a question. Although not new to digital painting, I am new to potentially selling my work. I do understand it’s in your best interest to recommend the methods of printing that you offer, but what about just regular ol’ photo printing …like a photo enlargement? Personally, I have all my work’s displayed in my home, all in nice frames, and they look beautiful! Also, I do “get it” that photo printing appears to “cheapen” the quality, ie “it’s just a copy” …but aren’t the other methods just “copies” too? I hope I don’t sound challenging; I just want to learn and to ultimately do the right thing. I look forward to hearing from you. Many thanks!
Hi Stuart,
I imagine by referring to “regular ol’ photo printing” you are referring to prints of images that you have done at your local print shop where you walk in with a file and walk out with a print, or maybe even printing right out of your own printer using photopaper.
These methods are popular for their convenience and quick ‘in-and-out’ production. And for many, regular photo printing works for personal images and projects. However, when researching for what to provide to your potential customers, considering quality in print and material should be a deciding factor.
Even sampling from different sources of printing will help you gain clarity in what you want to offer. Our products are copies of the original, you are correct. But one copy is not the same as the next copy. One of the many reasons our customers have switched to us is due to quality in reproduction from their previous printing source. Colors, picture quality, material feel, and consistency are what distinguish an excellent replica from a less than ideal copy.
And from your customers perspective, they are seeking a near perfect copy of the original, the image they felt so inclined to purchase a copy of and have in their home. What our job is, as a giclée printing company, is to ensure the reproduction is up to the standards of fine art printing and ensuring your print will maintain it’s brilliance for years to come using archival inks and materials. We use top of the line printers that have more ink cartridges compared to regular printers. This mean we have a fuller spectrum of colors that will allow for a more precise color matching of your original print. That way, what you’re offering to your customer is not only a fantastic image, but a fantastic product overall.
Hopefully this response brought you some insight and if you have any questions, let me know!
-Lindsay at Lumaprints