You’re an artist or a designer. You love to create things and share them with the world. You have digital artworks that you’ve been dying to sell, but don’t know how.
Well, what if we told you that there’s a way to combine your favorite creative pursuits with making money? What if we said that all it takes is printing your digital artworks?
The thing is, digital art isn’t just for computers anymore. With the proper knowledge, you can print out your digital creations onto paper or any medium, and sell them at galleries or online.
To ensure your image’s success, it’s important to make it look its best. Resize your image, adjust its sharpness, and increase its contrast to give it a professional-looking finish. Choose high-quality materials like printing on high-grade paper with pigment-based ink on a professional printer.
So whether you’re a novice or an experienced master, keep reading to learn everything there is to know about digital printing art. We’ll explore how to print your digital artworks as a means to make money—and we promise it’s easier than it sounds.
Is printing digital art possible?
Digital artwork can be printed. The use of digital printing is rapidly expanding in the modern printing industry. Digital artists have learned that selling original prints of their work may be a very profitable venture, while buyers have discovered that these reproductions offer an inexpensive substitute for original pieces.
In addition to displaying their original digital artwork in person, many digital artists also sell copies of their work at conventions and other gatherings.
STEP 1: Getting Digital Files Ready for Printing
1. For fine art prints, change the resolution to 300 dpi.
The clarity of the resolution is what gives a professional print a professional appearance. Depending on the size of the project you’re working on, you’ll require a specific resolution. Without changing the resolution from the default 72 dpi, you can often print anything up to 13 in. (33 cm) by 19 in. Raising the resolution to 300 dpi is recommended for bigger projects or projects that will be displayed.
Select “Image” then “Size” to change the image’s size in Sketchbook Pro for Mac. Ensure that both “Keep Proportions” and “Resample Image” are selected in the options box that appears. Afterward, adjust the resolution.
Select “Image” then “Image Size” if you’re using Photoshop. Check the boxes next to “Resample Image” and “Constrain proportions.” Choose “Bicubic” from the drop-down menu for measures near the bottom of the menu.
2. Fine-tune the color of the print.
Your print’s color and texture may change if you adjust the resolution. To restore your print’s original colors, use the “color” menu.
Make a note of the numbers on the Photoshop color wheel that match any custom colors you used in your original print. Once you change the resolution, it will serve as a suitable starting point.
3. For big projects, use professional software plug-ins.
Consider utilizing a plug-in to alter the size if you’re publishing your digital art on a banner, poster, or another huge project.
Regarding resizing plug-ins, Perfect Resize and Blow Up are two of the more well-known software you can use. After you make your online software purchase, dialog boxes will appear to walk you through the setup process.
4. Colors will appear brighter by increasing contrast.
Depending on the software you use, you can adjust the contrast in your art. The slide cursor included in the majority of photo-editing programs can be used to adjust contrast. Beyond what the screen appears to be sharpest, increase contrast. Printing may not reproduce images as sharply as they do on the screen.
5. Enhance the sharpness in Photoshop.
Right-click “Art Layer” under the “Layer” menu in Photoshop and select “duplicate layer.” Then choose “Filter,” “other,” and “High Pass.” Click “OK” after selecting 3 from the “radius” drop-down option. When you return to the Layer Palette, select “Soft Light” or “Overlay” from the drop-down option on the left. Once that is done, adjust the Opacity Slider to a value between 10 and 70%.
This method of sharpening differs from resolution-enhancing methods. A photo appears crisper when it has a high resolution because it enables the eye to distinguish between close-up objects in the image. Your work will appear to have sharper edges if you increase the sharpness setting in Photoshop.
6. Your artwork should be saved as a JPEG or PNG.
If you want to print your artwork after making modifications, saving it as a JPEG or PNG file will offer you the best quality. You can select a different file format by going to “save as,” and then using the “file type” drop-down box to choose JPEG or PNG.
If you are using a JPEG file, only save your artwork in JPEG format after making all your edits. A JPEG’s final quality may suffer if it is repeatedly saved. On the other hand, you can use a PNG file at any time because PNG files won’t lose quality after numerous saves.
Related: Soft Proofing for Quality Prints
STEP 2: Picking the Right Paper and Ink
1. For vivid colors or sharp text, use dye-based inks.
Dye-based ink is often the best option when printing on glossy paper. In comparison to other inks, it will produce vibrant colors and dry faster. But dye-based inks deteriorate relatively quickly, often within 5 years, and aren’t waterproof.
2. For long-lasting printing, use pigment-based inks.
Inks with a pigment base use suspended pigments rather than ones that have been dissolved. This makes them capable of up to 150-year lifespan. Additionally, printing on matte paper yields the most excellent results. In some cases, pigment-based inks’ colors may not be as bright as those of dye-based inks. To prevent this, look for inks produced by the company that manufactures your printer.
3. Pick acid-free, archival paper.
Paper matters just as much as ink when printing digital art. Digital artwork beautifully on paper that has been certified as 100% cotton or rag and acid-free. If the paper is the appropriate type, such information should be on the package.
4. Select a paper finish that best showcases your artwork.
The ideal media to print digital art on is coated paper, which is available in matte, semi-matte, and glossy finishes. The paper’s coating keeps the ink from penetrating too deeply and fading your colors.
Avoid using glossy paper if your digital work has any text because a glossy finish will make it difficult to read. Your artwork will stand out with a semi-gloss surface without reflecting too much light and becoming difficult to see. It’s the finest choice for work that will be on exhibit without glass.
Matte paper is the most outstanding choice if your artwork will be displayed behind glass because it doesn’t reflect any light. Additionally, it works well for black-and-white artwork.
5. Use paper that is 20 to 24 or heavier.
Paper used in copy machines and standard printers typically ranges from 20 to 24#. To give your prints a more polished appearance, choose heavier paper. Consider using paper that is above 28# if you plan to display your artwork as a poster. Choose paper that is roughly 50# if you plan to exhibit your artwork in a gallery.
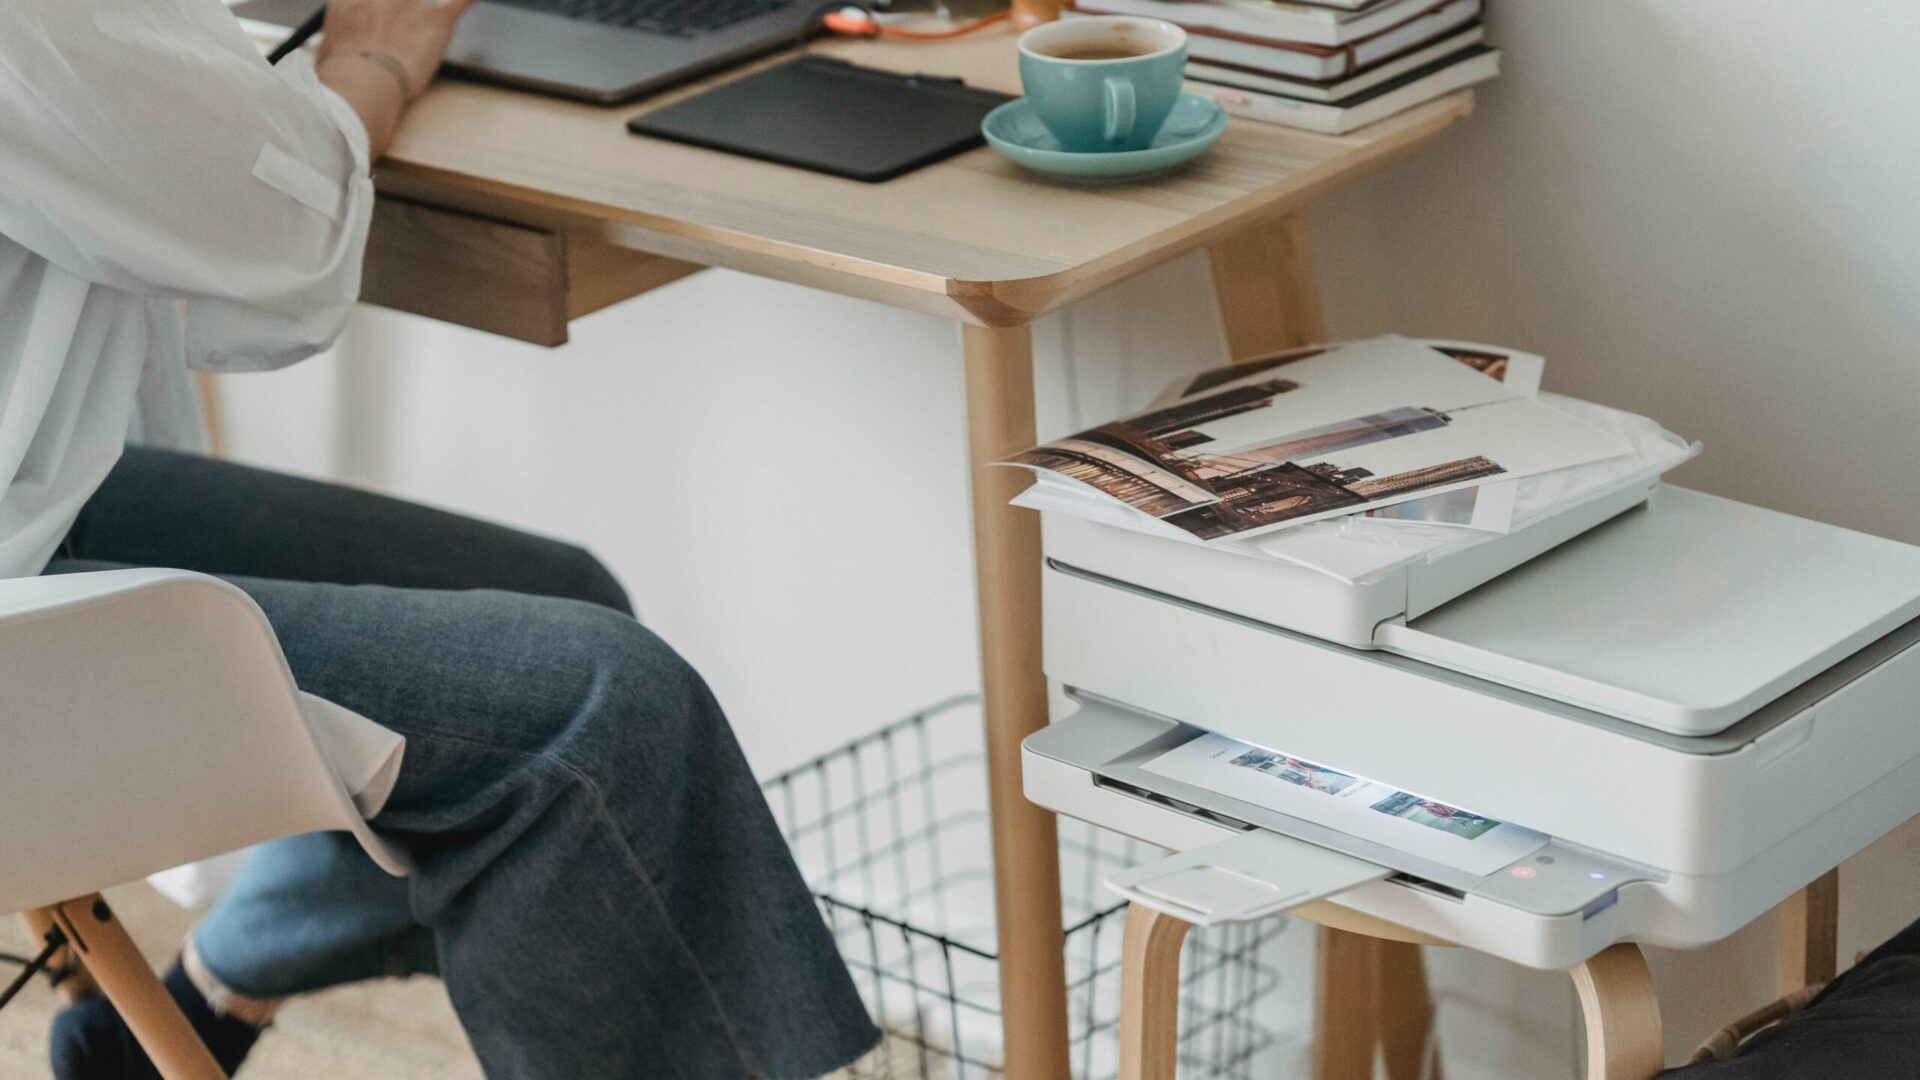
STEP 3: Printing your Digital Artwork
You can think about hiring a print-on-demand (POD) service supplier to handle your printing needs if you’re a new artist or are working with a limited budget. Without having to make equipment purchases or learn how to operate a professional printer, you may still get high-quality prints for only a small premium above doing it all on your own.
When using a print-on-demand service, such as Lumaprints, you provide the files in a print-ready format per the printer’s requirements, and the service prints your artwork. Then, using a variety of e-commerce service providers, you may sell your printed goods online.
If you discover a professional printer that is experienced and helpful, that is another option. If not, a POD service’s first workflow is fairly similar to working with one. But while getting assistance from a local printer is probably going to cost more money, it might also provide you the opportunity to give instructions to the person operating the printing press. At the same time, it is being proofed or printed, depending on the printer’s willingness.
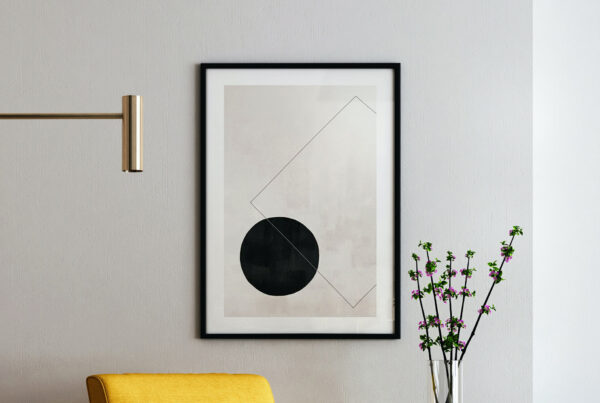
Some print-on-demand companies, like Lumaprints, for instance, complete, print, and ship your orders. We provide printing of your artwork at the most competitive rates. You have the option of having your artwork printed on a canvas, a framed canvas, metal, fine art paper, or our newest offering, the peel-and-stick print.
Related: Color Gamut and RGB Workspaces
Thoughts on Digital Art Printing
While digital art is currently one of the most widely used digital mediums, printing digital art can be complex.
When you’re prepared to create digital prints, you need to be aware of a few aspects relating to printing digital artwork to ensure that your digital print appears as stunning and vibrant on paper or canvas as possible. Making any necessary alterations to the digital image before printing is crucial, as is selecting the proper paper type and digital print size.
Additionally, several printing choices are available, such as metal, fine art paper, canvas, framed canvas, peel-and-stick, etc. Furthermore, choosing a print-on-demand partner, like Lumaprints, to print your artwork is as important as any other things mentioned.
You may produce stunning prints that show off your digital artwork to its fullest potential by following some essential printing advice we mentioned here for digital art.
Related: Printers – Improving Color Accuracy
I have a question. Although not new to digital painting, I am new to potentially selling my work. I do understand it’s in your best interest to recommend the methods of printing that you offer, but what about just regular ol’ photo printing …like a photo enlargement? Personally, I have all my work’s displayed in my home, all in nice frames, and they look beautiful! Also, I do “get it” that photo printing appears to “cheapen” the quality, ie “it’s just a copy” …but aren’t the other methods just “copies” too? I hope I don’t sound challenging; I just want to learn and to ultimately do the right thing. I look forward to hearing from you. Many thanks!
Hi Stuart,
I imagine by referring to “regular ol’ photo printing” you are referring to prints of images that you have done at your local print shop where you walk in with a file and walk out with a print, or maybe even printing right out of your own printer using photopaper.
These methods are popular for their convenience and quick ‘in-and-out’ production. And for many, regular photo printing works for personal images and projects. However, when researching for what to provide to your potential customers, considering quality in print and material should be a deciding factor.
Even sampling from different sources of printing will help you gain clarity in what you want to offer. Our products are copies of the original, you are correct. But one copy is not the same as the next copy. One of the many reasons our customers have switched to us is due to quality in reproduction from their previous printing source. Colors, picture quality, material feel, and consistency are what distinguish an excellent replica from a less than ideal copy.
And from your customers perspective, they are seeking a near perfect copy of the original, the image they felt so inclined to purchase a copy of and have in their home. What our job is, as a giclée printing company, is to ensure the reproduction is up to the standards of fine art printing and ensuring your print will maintain it’s brilliance for years to come using archival inks and materials. We use top of the line printers that have more ink cartridges compared to regular printers. This mean we have a fuller spectrum of colors that will allow for a more precise color matching of your original print. That way, what you’re offering to your customer is not only a fantastic image, but a fantastic product overall.
Hopefully this response brought you some insight and if you have any questions, let me know!
-Lindsay at Lumaprints