Speed Up Your Order Processing
Lumaprints is making selling online easier for our customers with our new automated order processing system. Make sure your print on demand integration is set up correctly before turning on automation. Once your store is integrated and products have been mapped, then any orders that have mapped products can automatically move into fulfillment and shipping with less manual work.
Overview
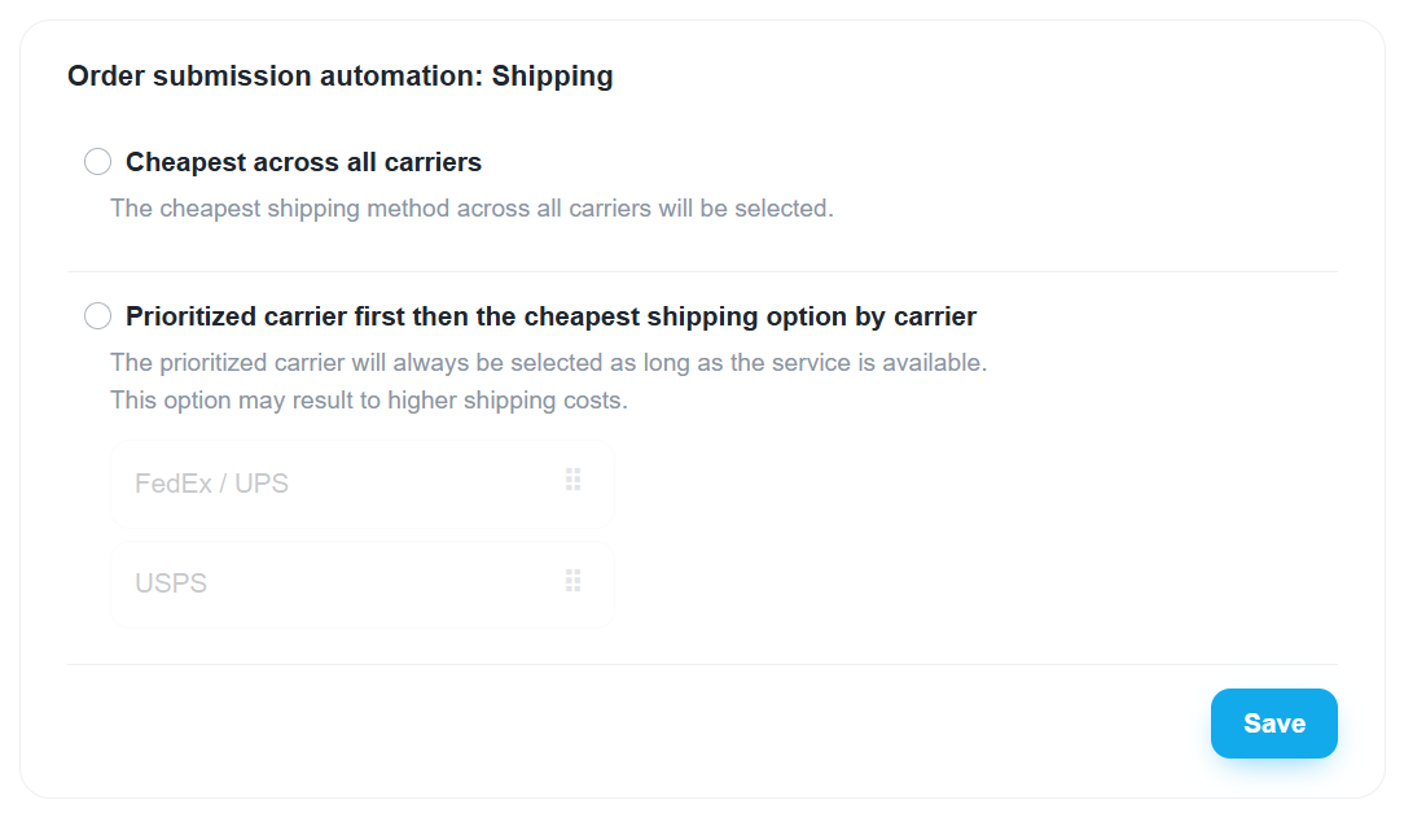
This optional automated process makes ordering more efficient by removing the need to manually process an order once the products have been synced and mapped with us. Shipping method will automatically be selected based on your preference (lowest rate/preferred carrier), and orders will be processed as they come in. Once you have set your preferences for automation and have the product ready in your library, automated order fulfillment will process on its own!
Set Up Your Store for Automation
To get started with automation, you need to do the following steps:
Integrate Your Store
Connect your e-commerce store (such as Shopify, Etsy, WooCommerce, or Squarespace) to Lumaprints so your orders can be automatically pulled for fulfillment.
Watch the Lumaprints Integration Tutorial for step-by-step instructions.
Map Your Products
Assign the appropriate image files, product types, dimensions, and options to your store items so each order is processed automatically.
Watch the Product Mapping Tutorial to learn about manual and bulk mapping options.
Add Your Preferred Payment Method
Choose how you want to pay for your fulfilled orders. You can use:
- Store credit (if you top up in advance), or
- A credit card for automatic billing.
Once these steps are complete, you’re ready to start using automation to simplify your order fulfillment.
If you want to save time and allow orders to process as they come in without manual processing, below are step-by-step instructions on how to start automating your Lumaprints orders.
How To Enable Automation
To begin automating your orders, your store must be linked to Lumaprints like so:

If your store is not linked to Lumaprints, see how to integrate your store with Lumaprints to learn how to integrate based on your selling platform.
- Log in to your Lumaprints account.
- Click Stores > Store Settings

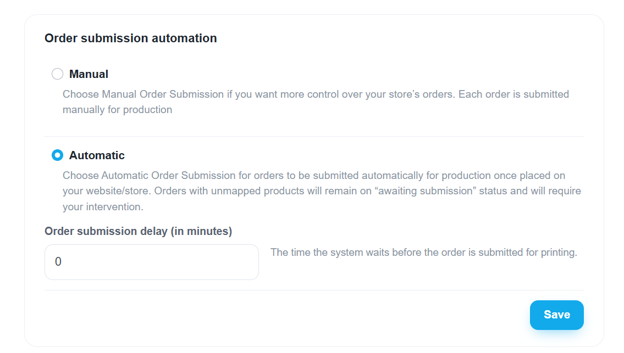
- Scroll down to “Order submission automation” and select “Automatic”. You may also include the number of minutes you want the order to delay before pushing through to fulfillment. This is in case of cancellations, address changes, etc.

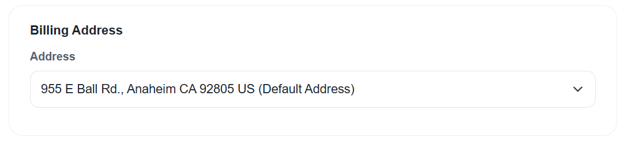
- Fill out the Billing Address box.

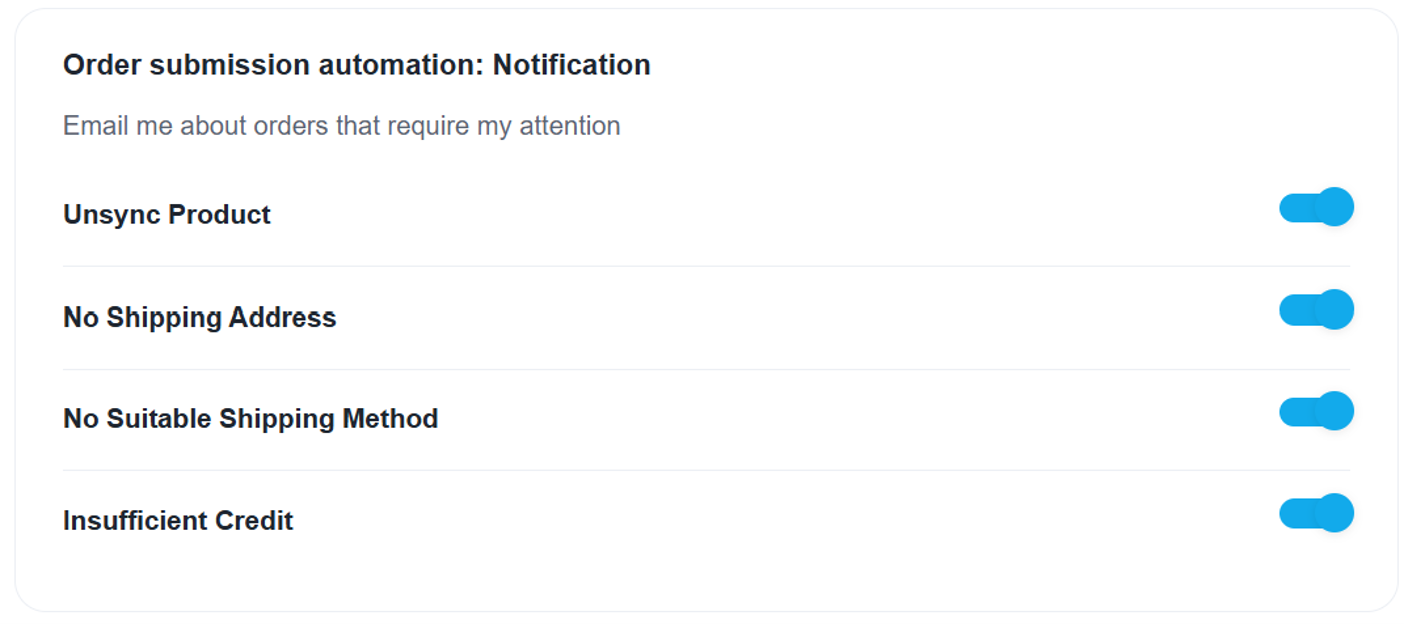
- Review and check your email notification preferences.We recommend selecting all email notifications, as these are notifications for incoming orders that need action.

- Select your choice for “Shipping Carrier Preference”.We recommend the first option, which is getting the lowest price regardless of carrier.

- Select Save and done! At the end of the day, you will get a summary of orders that have been processed through automation.

Ready to spend less time managing orders manually? Enable automated order processing with Lumaprints and create a smoother path from incoming orders to automated order fulfillment. Get started today and simplify your workflow.