What is Mounting?
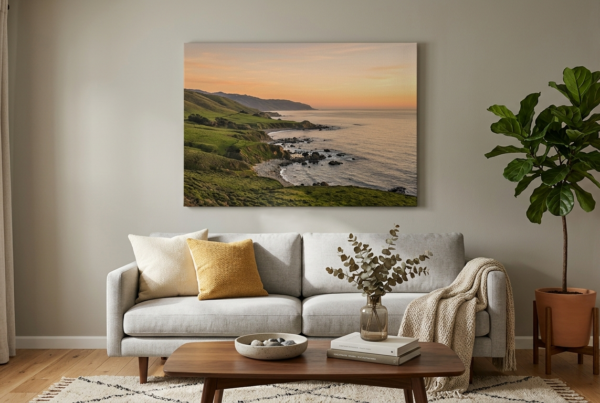
A print can look completely different once it’s mounted and framed well. Even a simple photograph feels more finished when it sits flat, has enough space around it, and isn’t fighting with the frame for attention. If you’re working with canvas prints or fine art paper prints, the way you display them matters almost as much as the image itself.
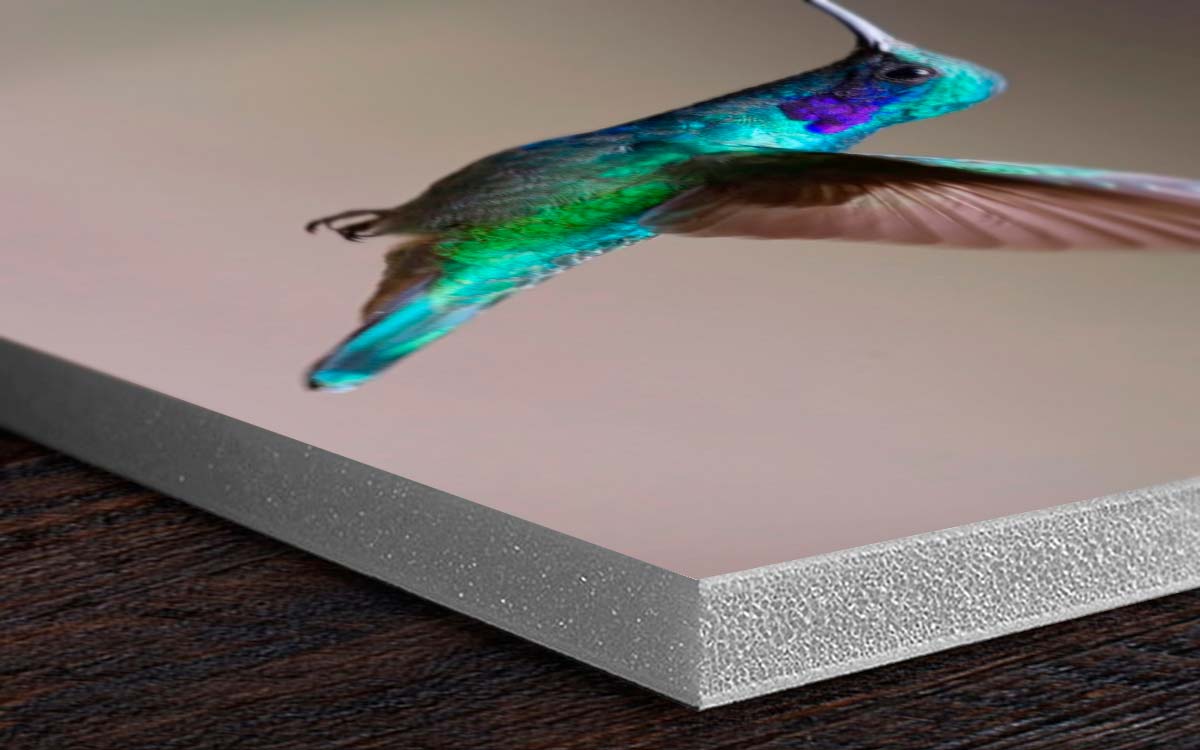
Mounting is the process of supporting a print with a backing material before it goes on display. Done properly, it helps keep the artwork flat and makes it easier to handle during framing.
There isn’t one mounting method that works for everything. Some print mounting techniques are quick and permanent, while others are designed so the artwork can be removed later. The right choice depends on the type of print, its value, where it will hang, and how long you expect to keep it framed.
Why Should You Mount Your Prints?
Mounting gives a print structure. Without enough support, paper can shift, curl, ripple, or buckle inside a frame, especially as humidity changes.
There’s also the visual side of it. A properly mounted print usually looks cleaner and more deliberate. A good mat and frame can create breathing room around the artwork instead of making it feel squeezed into the available space.
Professional framing is always an option, particularly for expensive or irreplaceable work. Still, learning the basics yourself is useful. It gives you more control over the final presentation and can save money when you’re framing photographs, test prints, or artwork you change regularly.
It also lets you experiment. A print that feels ordinary in a narrow black frame may look completely different with a wide white mat or a warmer wood frame.
Mounting vs. Framing
Mounting and framing are closely related, but they don’t do the same job.
Mounting supports the print. Framing creates the finished display around it.
A mount may hold the artwork against a backing board, while a mat creates a border around the image. The frame then holds those pieces together and provides the outer structure.
This distinction becomes especially useful when working with non-standard print sizes. You don’t always need a custom frame. A larger standard frame with the right mat can often give a smaller print a more balanced, intentional look.
A mounted print is also easier to handle during assembly because the paper is less likely to shift or fold while you’re placing it in the frame.
How to Mount a Print in a Frame
If you’re figuring out how to mount a print in a frame, start with a clean work surface and dry hands. Dust and fingerprints have a habit of appearing only after the frame has been closed.
Lay the print on an acid-free backing board and check its position before attaching anything. For artwork you may want to remove later, use photo corners or conservation hinges rather than covering the back with permanent adhesive.
Once the print is secure, add the mat if you’re using one. Check the margins from a normal viewing distance, not just from a few inches away. When everything looks even, place the mounted artwork into the frame and make sure the print isn’t pressed directly against the glazing.
Different Mounting Techniques
The best method usually comes down to three things: how valuable the print is, how permanent you want the mounting to be, and what tools you have available.
Dry Mounting Technique
Dry mounting bonds a print to a rigid or semi-rigid backing, usually with an adhesive that is activated by heat or pressure.
It’s often used for posters, photographs, display graphics, and other artwork where a perfectly flat surface is important.
A heat press can create a very smooth result, but heat isn’t suitable for every print. Certain coatings, inks, and older photographs may react badly, so it’s worth checking the material before committing to the process.
Pros
Dry mounting produces a neat, flat presentation. It can smooth out light rippling or small creases that would otherwise show once the piece is framed.
The finished print is also easier to handle because the backing gives it extra rigidity.
Cons
The biggest drawback is permanence.
Once the print is bonded to the board, removing it later may damage the paper or image. That makes dry mounting more appropriate for decorative work than for original, collectible, or sentimental pieces.
Pressure-Sensitive (Adhesive) Mounting Technique
Pressure-sensitive mounting skips the heat. Instead, the print is placed onto an adhesive board or sheet and secured by applying pressure.
It sounds simple, and it is, but alignment matters. Once the print touches a strong adhesive surface, moving it can be difficult.
The safest approach is to position one edge first and work slowly across the surface, smoothing as you go.
Pros
For beginners, this is one of the easier print mounting techniques to work with. You don’t need a heat press, and adhesive boards are widely available in different sizes.
They can also be trimmed to match unusual print dimensions.
Cons
Mistakes are harder to correct once the adhesive grabs the paper.
Pressure-sensitive mounting is generally better suited to temporary displays. Some adhesives may not hold heavier papers securely, and repositioning the print after applying it can be difficult.
Wet Mounting Technique
Wet mounting uses liquid adhesive or paste to attach the print to a backing board.
It can be useful when heat isn’t appropriate, but it takes a little more patience. The adhesive has to be spread evenly, and too much moisture can cause the paper to expand or ripple.
After positioning the artwork, gentle, even pressure can help keep it flat while the adhesive dries.
Pros
Wet mounting is relatively inexpensive and doesn’t require specialized equipment.
For temporary displays, craft work, or inexpensive prints, it can be a practical method.
Cons
It can get messy very quickly.
Too much adhesive may seep onto the front of the print, while excess moisture can cause the paper to wrinkle. Wet mounting is also not recommended for long-term storage or artwork intended to remain on display for years.
Conservation Mounting
Conservation mounting takes a different approach. Instead of permanently attaching the entire print to a board, the goal is to support it while allowing it to be removed later.
This method typically uses acid-free backing boards, conservation hinges, photo corners, and other materials chosen with long-term preservation in mind.
The Library of Congress guidance on matting and framing works on paper is a useful reference if you’re framing artwork that you want to protect for many years.
Pros
The biggest advantage is reversibility.
If the frame becomes damaged, your decorating style changes, or you simply want to move the artwork somewhere else, the print can usually be removed without destroying it.
Conservation mounting is particularly useful for limited editions, original artwork, old photographs, and anything with sentimental or financial value.
You also don’t need a heat press or roller press to use the basic method.
Cons
It takes more time.
You have to measure carefully, choose the right materials, and avoid shortcuts that could undo the preservation benefits. Archival supplies can also cost more than ordinary tape or adhesive board.
For something valuable or irreplaceable, that extra effort is usually worth it.
Frequently Asked Questions
What is the safest way to mount valuable prints?
Conservation mounting is usually the better option because it uses acid-free materials and methods that can be reversed later.
Can I mount a print without using glue?
Yes. Photo corners, mounting strips, and conservation hinges can hold artwork without coating the back in adhesive.
Is dry mounting good for photographs?
It can work well for decorative photographs, but permanent dry mounting is less suitable for valuable or collectible prints.
Which mounting board should I buy?
Choose an acid-free, conservation-quality board for artwork you want to keep long term. It should also be firm enough to support the print without bending.
The best mounting method is the one that fits the artwork, not simply the quickest option. If the print matters to you, use reversible materials and take a few extra minutes to get the positioning right. Good mounting should support the image quietly and let the artwork remain the part people notice first.
Ready to Display Your Prints the Right Way?
A good mounting method starts with a print worth displaying. If you’re preparing artwork or photography for framing, choose materials that suit both the image and the way you plan to present it. If you want a ready-to-display option, explore Lumaprints’ framed canvas prints for different frame styles, canvas depths, and hanging options. Take the time to match the right print with the right mounting technique, and you’ll end up with a finished piece that looks polished and is better protected for years to come.