What is Mounting?
A fantastic image deserves to be seen by others. Give your best canvas and paper prints the attention they deserve by displaying them with a quality mounting and framing.
Mounting pictures is not just for decoration. The proper mounting methods protect your artwork from both the wall it is hanging on and the acidic elements in the air.
There are several ways to mount prints, each of which gives a different effect and requires different supplies. Think about the importance of the photo, how it will be printed and displayed, and whether it should be laminated before deciding which mounting method works best.
Why Should You Mount Your Prints?
When prints are mounted and framed properly, they often look better than they do in plain frames. A well-designed frame, mount, and mat help highlight a print’s beauty and make it feel more valuable.
You can have a professional mount your prints, but it’s more beneficial to learn how to do it yourself. It’s cheaper and more rewarding to do the job yourself once you have the appropriate supplies and equipment.
When you self-mount your prints, you have more freedom to control how they are displayed. You can experiment with different frames and mats, trying out different combinations to see how they affect the look and feel of your photos and art.
Mounting vs. Framing
Before learning how to display photos and framed art well, you need to know a few technical terms. It’s not as easy as just putting a picture in a frame and hanging it on the wall.
Mounting and framing are two different things you can do to create a fantastic display.
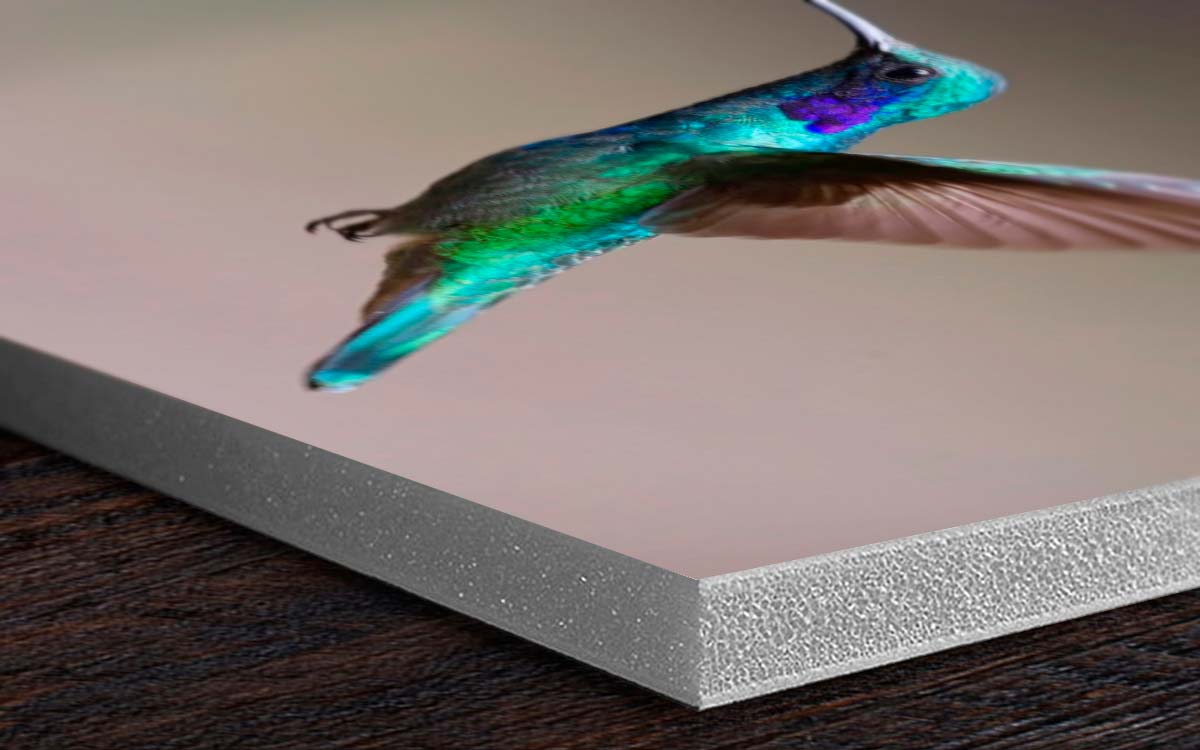
To prevent prints from bending or buckling, they should be fixed to a firm backing. Mounting attempts to stop this from happening and gives them a solid base before being displayed. When matting and framing, it’s easier to work with a mounted prints and less likely to damage the print in the process.
Mounting and matting also offer photographers and artists more options when it comes to choosing frame sizes. Instead of making a print fit into a standard frame size or being restricted to standard frame dimensions for wall display, you can choose a larger frame or one with non-standard sizes by trimming the mounting board to fit the frame.
Different Mounting Techniques
The technique and materials used to mount prints depend on the print type, availability of equipment and supplies, overall cost, and convenience.
- Dry Mounting Technique
The artwork is attached to rigid or semi-rigid support through dry mounting. It is used with photographs, posters, and artwork that can be damaged by water. Fine art very seldom uses this method.
One way to dry mount artwork or an image is to use a heat press to fasten it to a backing board. However, using a heat press can damage paintings. You can also do the same thing with a vacuum press, but without the presence of heat.
Pros
The best thing about dry mounting is that it can get rid of small creases and wrinkles in the artwork, together with the effects of cockling. The force from the dry mounting process flattens the print that would otherwise wrinkle or buckle.
Cons
The biggest problem with dry mounting is that you can’t take it apart again. This isn’t a good way to mount something for an archive. It’s mostly suitable for hanging cheap art that you will replace eventually. It’s not good for something you want to last a significant amount of time.
- Pressure-sensitive (Adhesive) Mounting Technique
Pressure-sensitive mounting is a cheaper method that works in the same way as dry mounting. It doesn’t need heat or any special tools that could potentially damage the photo.
In this method, you use products like Crescent’s Perfect Mount, which has a special glue that works by putting some pressure on the print.
Once you’ve taken the protective paper off the glue and put your print where you want it. Press down on it with firm pressure, making sure to use the protective paper that came with the glue.
Pros
Pressure-sensitive mounting is a good option for beginners because it’s simple to use and cheap. Because the mounting system is available in various sizes and can be cut to fit, you can make it work with any size of the photo. The picture will be flawlessly mounted as long as all the air bubbles under it are removed.
Cons
The adhesive isn’t very strong, so pressure-sensitive mounting is only meant for temporary mounting. This is not an ideal way to mount prints on heavy paper since the glue might not hold up well.
- Wet Mounting Technique
Wet mounting is perfect for you if you don’t want to use heat and pressure. Wet glue or paste applied to the print before putting it on the mount board.
Use a piece of glass or another solid surface to put some pressure on the photo while you wait for the adhesive glue to dry. This might take anywhere between four hours to 24 hours.
Pros
The wet mounting process is inexpensive, and the glue dries up entirely in 24 hours. You don’t need any special tools or matting boards if you don’t want to use them.
Cons
This method of mounting is also not suitable for long-term storage, so you shouldn’t use it for any prints that will be hanging for years. If you’re not careful or use too much glue, the adhesive can get on the front side of the picture.
- Conservation Mounting
Conservation mounting uses acid-free mount board, hinges, and tape or to protect the print from acid. Museum mounting is another known name for conservative mounting since most museums use this method. In some situations, acid-free corners may be utilized in addition to these materials to further protect the artwork.
Pros
Conservation mounting is the best way to protect art that will be hanging for a long time. It’s compatible with different kinds of art and can protect three-dimensional works by putting them in shadowboxes.
Everything that is mounted with this method can be effortlessly taken off later, and you can change the whole frame without requiring a change in the mounting system. Conservation Mounting is very affordable because it doesn’t need expensive tools like a dry mount press or roller press.
Cons
The process of conservation mounting is time-intensive, which is the biggest problem with it. Everything that is put on the print has to be done in a way that secures it from air and acid from the outside. Because these materials are meant to protect for a long time, they are typically more costly.


